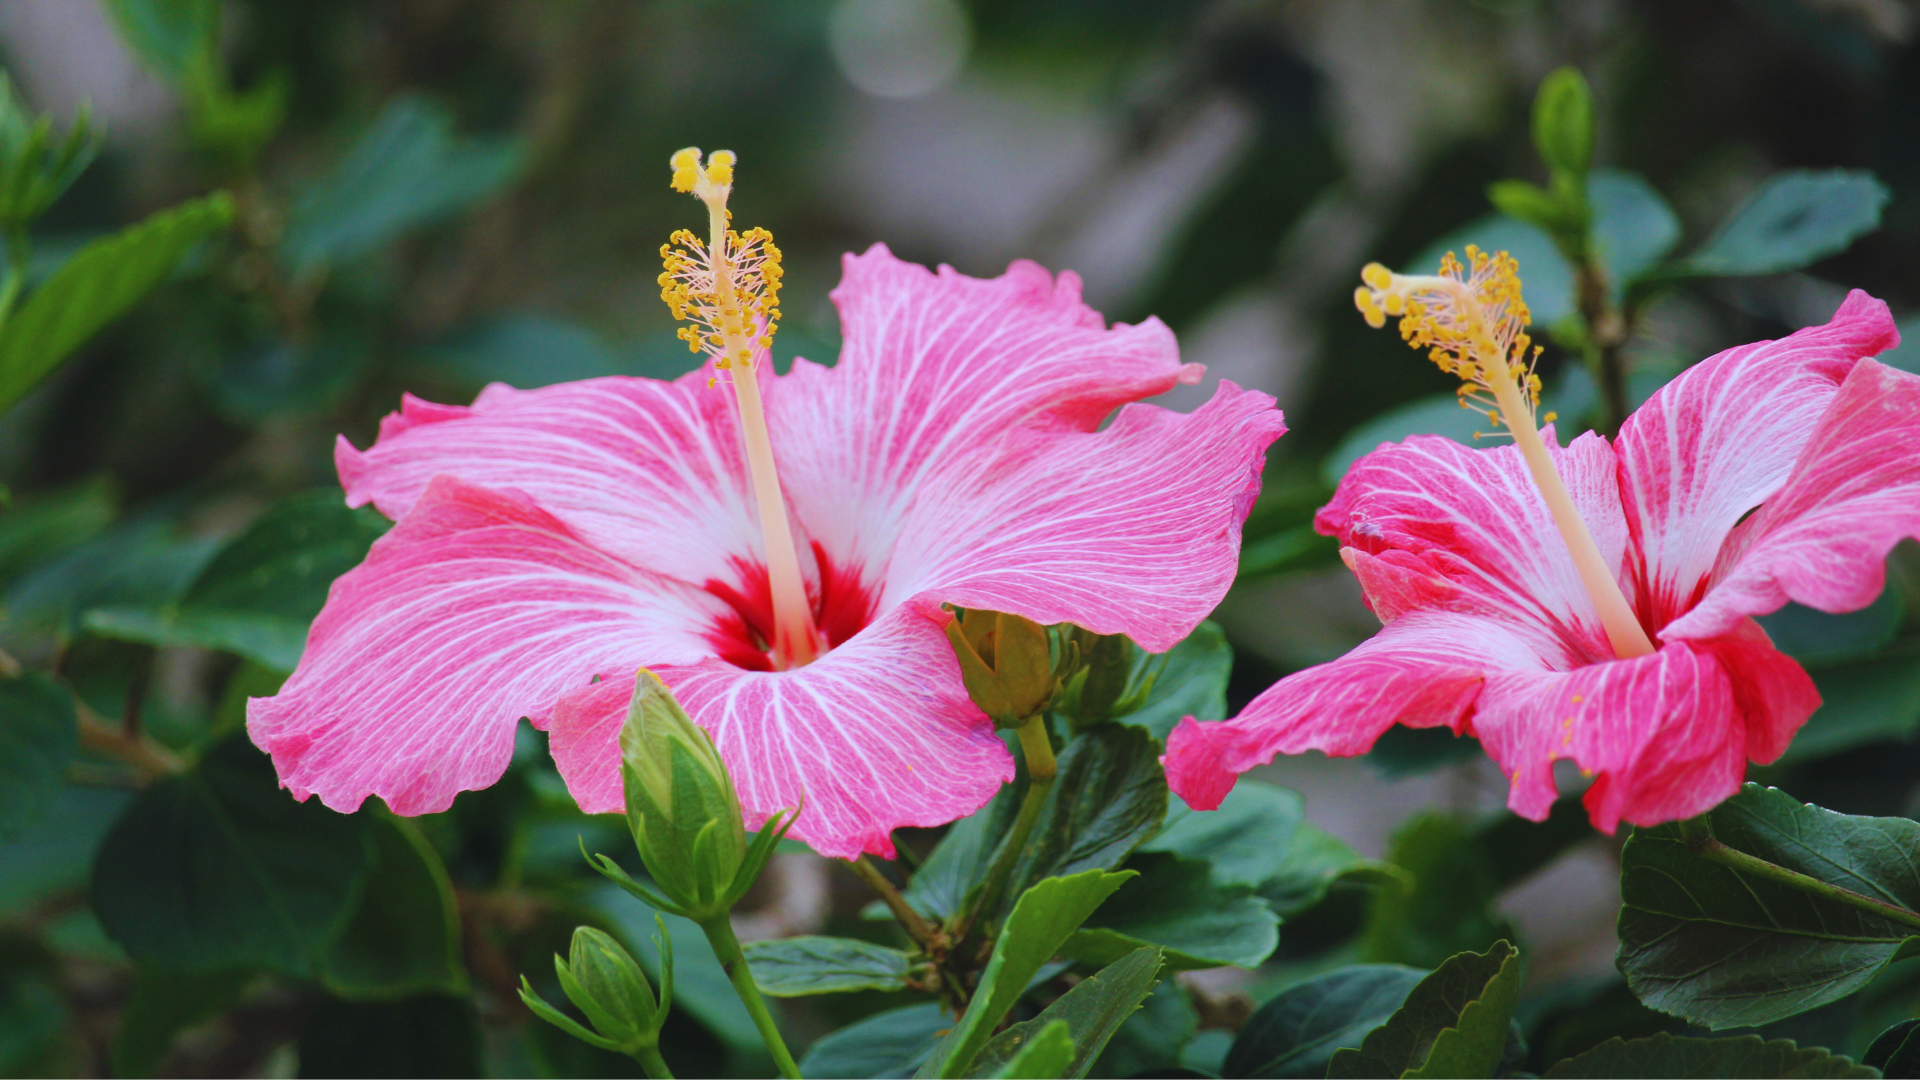
Hibiscus tea captivates with its brilliant ruby-red color and bold, tart flavor reminiscent of cranberries with subtle floral notes—a refreshing, caffeine-free infusion cherished worldwide. When grown at home as Hibiscus sabdariffa (commonly called roselle, Jamaican sorrel, or Florida cranberry), you gain access to the freshest calyces—the fleshy, red sepals surrounding the seed pod that deliver the signature taste and potent antioxidants. Home cultivation ensures organic quality, peak freshness, and abundant supply for year-round brewing, whether hot for cozy evenings or iced for summer refreshment.
Roselle thrives as a fast-growing annual in most climates (perennial in zones 8–11), reaching 4–10 feet tall with attractive foliage and showy yellow flowers that fade to reveal harvestable calyces. For beginners, it’s forgiving—heat-loving, relatively pest-resistant, and productive with basic care. A few plants yield enough dried calyces for months of tea, plus extras for jams, syrups, or gifts. This guide walks through beginner-friendly steps: starting from seed, choosing locations (pots vs. ground), essential care, harvesting calyces, drying/storage for potent brews, and tips for success. With proper timing and attention, even novices can enjoy homemade, vibrant hibiscus tea from their own garden or windowsill.
Why Grow Your Own Roselle? Freshness and Benefits
Homegrown roselle offers unmatched potency—fresh calyces brew richer color and flavor than store-bought, often faded or less aromatic. Rich in vitamin C (up to 9 times more than oranges per serving), anthocyanins, and polyphenols, it supports wellness while tasting delicious.
Growing your own ensures no pesticides, controls quality, and provides a rewarding, low-maintenance project. In cooler climates, container growing allows overwintering indoors or treating as an annual. In warm zones, it becomes a perennial shrub. A small patch or pots yield ½–1 lb dried calyces from 3–6 plants—ample for personal use.
Starting from Seed: The Best Way for Beginners
Roselle grows easily from seed—inexpensive packets available online or at nurseries.
Timing: Start indoors 6–8 weeks before last frost (late winter/early spring in most areas). Roselle needs warm soil (75–85°F) and a long season (4–5 months) to bloom and produce calyces.
Germination Steps:
- Scarify seeds lightly (nick coat or soak in warm water 12–24 hours) for better sprouting.
- Sow ¼–½ inch deep in seed-starting mix or potting soil.
- Keep at 75–85°F (use heat mat if needed); moist but not soggy.
- Germination: 7–14 days; seedlings emerge quickly in warmth.
Transplanting: Harden off seedlings outdoors gradually. Plant after frost danger passes, when soil warms. Space 3–6 feet apart in ground (plants spread widely); use 16+ inch pots for containers.
Propagation Alternative: In warm climates, take stem cuttings from healthy plants—root in water or soil for free multiples.
Choosing Location: Pot vs. Ground, Climate Needs
Roselle demands full sun (6–8+ hours daily) and heat—ideal in USDA zones 8–11 as perennial; zones 7 and below as annual.
Ground Planting: Best for space and productivity. Choose fertile, well-draining soil (pH 6.0–7.0, loamy ideal). Amend with compost for nutrients. Space plants 3–6 feet apart—mature size reaches 4–10 feet tall/wide.
Container Growing: Perfect for patios, balconies, or cooler climates (move indoors for winter). Use large pots (16–24 inches diameter, deep) with drainage holes. Mix potting soil with compost/perlite for drainage. Water more frequently—pots dry faster.
Climate Tips: Thrives in hot, humid summers (monsoon-like conditions boost growth). Protect from frost; in marginal zones, grow in greenhouse or indoors near sunny window.
Essential Care: Water, Soil, Feeding, and Maintenance
Watering: Keep consistently moist but not waterlogged—deep water weekly in ground (more in pots/hot weather). Finger test: water when top 1–2 inches dry. Mulch to retain moisture/reduce weeds.
Soil and Fertilizer: Fertile, well-draining soil. Mix compost at planting. Feed monthly with balanced organic fertilizer (e.g., 10-10-10) or compost tea during growth/flowering. Avoid excess nitrogen (promotes leaves over calyces).
Support and Pruning: Tall plants may need staking in wind. Pinch tips early for bushier growth/more flowers. Prune lightly to shape.
Pests/Diseases: Generally resistant. Watch aphids, whiteflies (hose off or use neem). Root rot from overwatering—ensure drainage.
Indoor/Overwintering: In cold zones, bring pots indoors before frost. Provide bright light (south window/grow lights), moderate water, warmth.
Flowering to Harvest: Timing and Technique
Roselle blooms late summer/fall (yellow flowers last one day). Calyces form around seed pod after petals drop.
When to Harvest: 7–10 days after flowering (or 6–8 weeks after bloom start). Calyces plump, bright red, firm, ~1+ inch wide; seed pod tender (not woody). Harvest before drying/seed hardening—optimal flavor/nutrients.
How to Harvest: Snip calyces with scissors just above base. Leave some to mature for seeds. Frequent picking encourages more production.
Yield: 3–6 plants yield ½–1 lb dried calyces—enough for year-round tea.
Drying and Storage: Preserving Potency for Fresh Brews
Drying: Separate calyces from seed pods (twist/pull). Spread single layer on screens/trays in warm, airy spot (dehydrator 95–115°F or oven low door ajar). Dry 1–3 days until crisp, dark red.
Storage: Store dried calyces in airtight jars away from light/heat. Lasts 1–2 years with potency.
Brewing Fresh: Use 1–2 tsp dried per cup; steep 5–10 minutes. Fresher homegrown yields richer color/taste.
Troubleshooting and Beginner Tips
- Slow growth: Ensure heat/sun.
- Few calyces: Needs long warm season; start early.
- Leggy plants: More light/prune.
- Pests: Neem/hosing.
Start small—3–5 plants. Enjoy ornamental blooms, edible leaves (young, lemony), and abundant tea.
Conclusion
Growing roselle at home brings joy—beautiful plant, fresh potent tea, self-sufficiency. With warmth, sun, and care, beginners harvest ruby calyces for vibrant brews year-round. Embrace this rewarding journey for flavorful, homegrown wellness.